

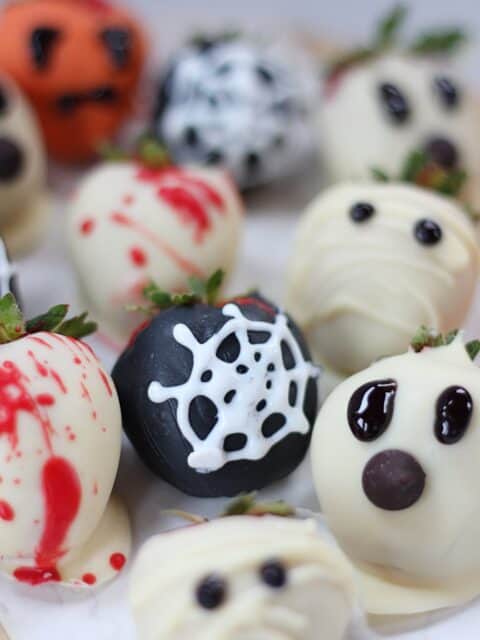
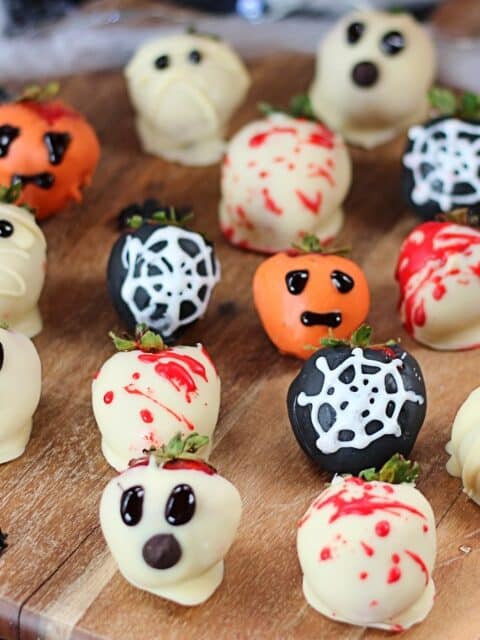
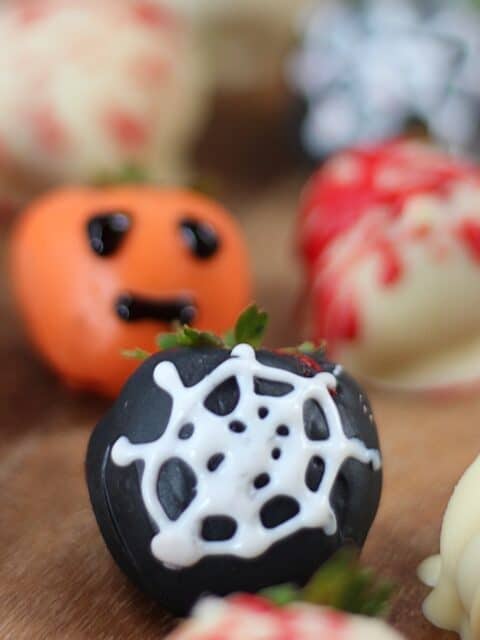
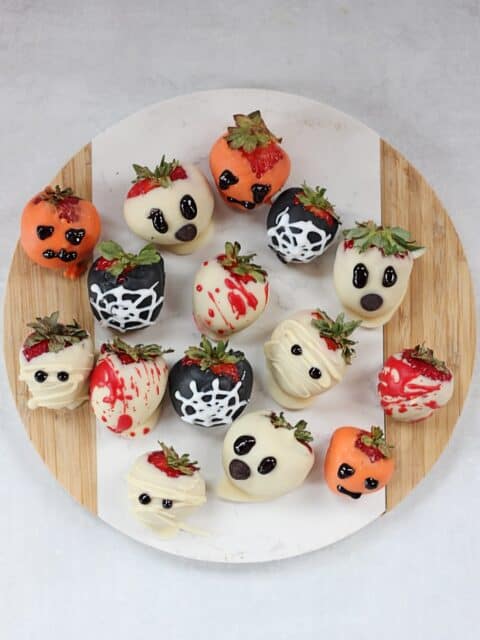
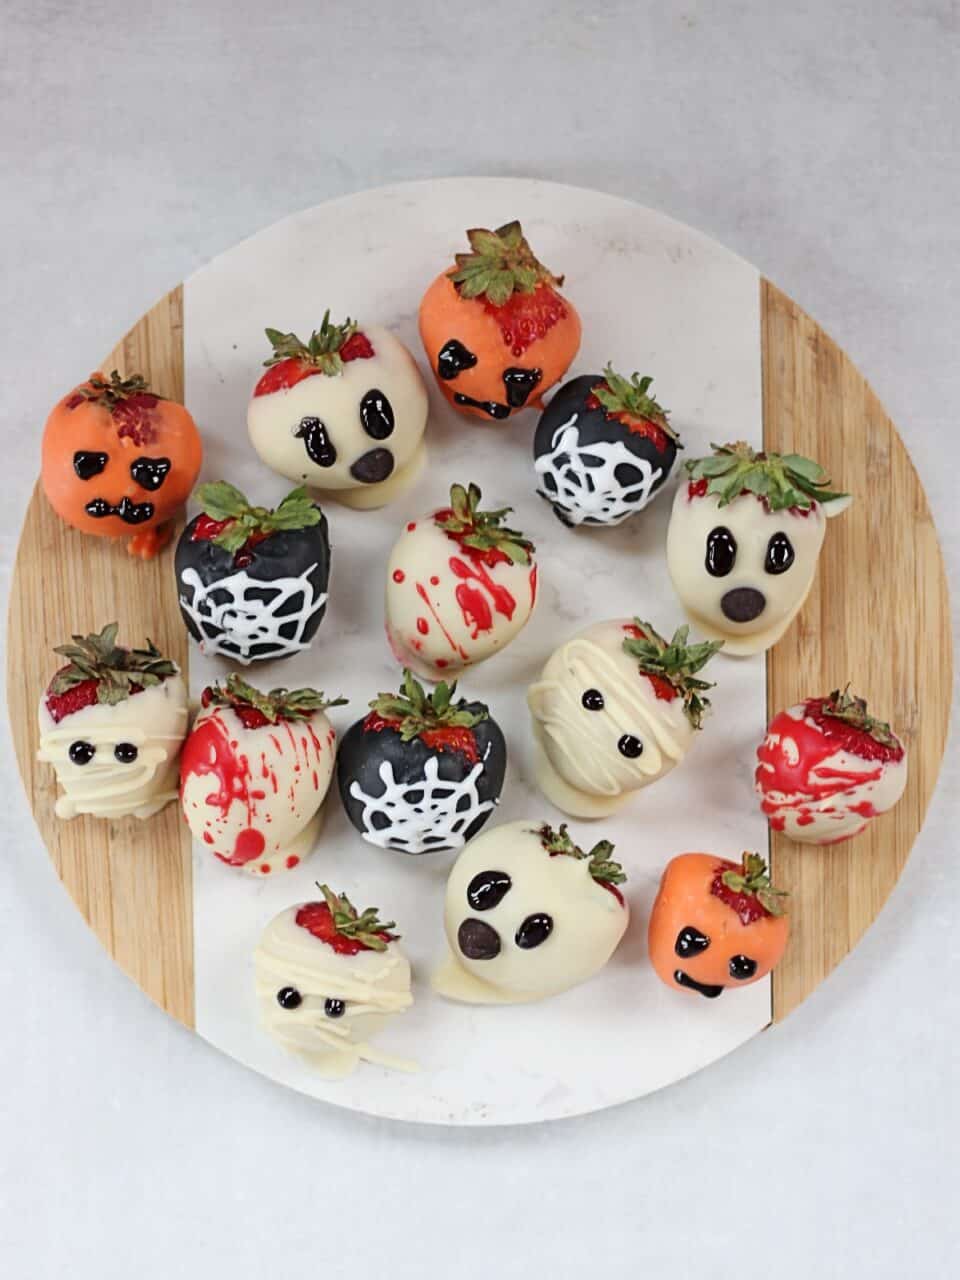
These easy Halloween strawberries include spooky ghosts, mummies, pumpkins, blood splatters and spiderwebs. Simple to make, fun to serve and great to make with your kids.
This post may contain affiliate links. Read my privacy policy here.
These cute and spooky Halloween treats are going to be the star of your parties this season! Delicious to eat and fun to make, these Halloween dipped strawberries are so delightful!
Fresh strawberries are coated in chocolate and then simply decorated with icing gel. They are great to make with your kids, and they get to have some fruit with their Halloween candy!
Be sure to check out my Halloween Bark and Halloween Chocolate Cupcakes for other homemade spooky chocolate treats.
Why You Will Love This Recipe!
- Easy to make: You don't need to be a candy decorating expert to make these! If they aren't perfect, I think that's actually more charming! No piping bags or special equipment needed.
- Great for kids: Little hands will have so much fun decorated the chocolate covered strawberries.
- Perfect for Halloween parties: You can easily make a big platter of these and they are a fun addition to a Halloween dessert tables. You can easily make them ahead of time.
- Easy to customize: Switch up the chocolate, colors and decorations to make your own spooky designs.
Ingredients
- Strawberries: Use fresh, ripe strawberries. Larger ones are easier to decorate.
- White Chocolate: Each strawberry is dipped in white chocolate. I used chocolate chips, but you can use a bar or candy melts. Use a good quality chocolate.
- Oil: To thin the chocolate a little (you don't need oil if you use candy melts). Coconut oil or a neutral oil like canola or vegetable is perfect.
- Oil Based Food Coloring: Oil based food coloring is best when mixing it with chocolate. Gel or liquid food coloring can cause the chocolate to seize.
- Writing Gel: A super easy way to decorate your chocolate covered strawberries! You will need black and white for these Halloween designs.
- Dark Chocolate Chips: Optional for the ghost mouths. You can use the writing gel if you prefer.
How to make Halloween Strawberries
Be sure to scroll down for the full recipe!
- Melt the chocolate in a bowl in the microwave or a bain-marie. If using chocolate chips or a bar, add a little oil to thin it out.
- One by one, dip the strawberries in the chocolate to coat them, and sit them on a parchment paper lined baking sheet to set.
- Color the white chocolate in small batches as needed to decorate your berries.
- Decorate with the writing gel.
How to decorate
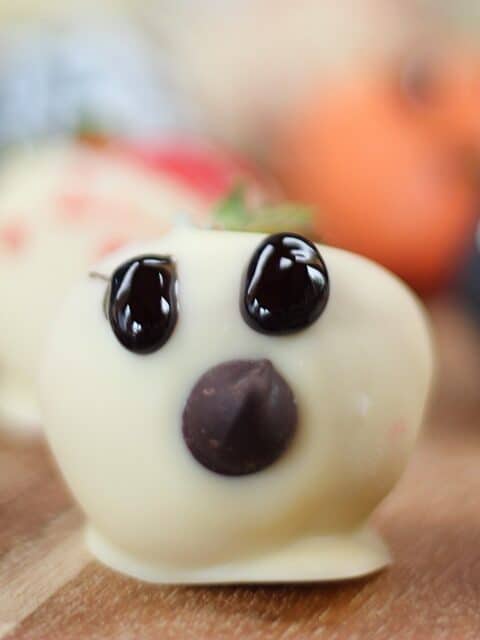
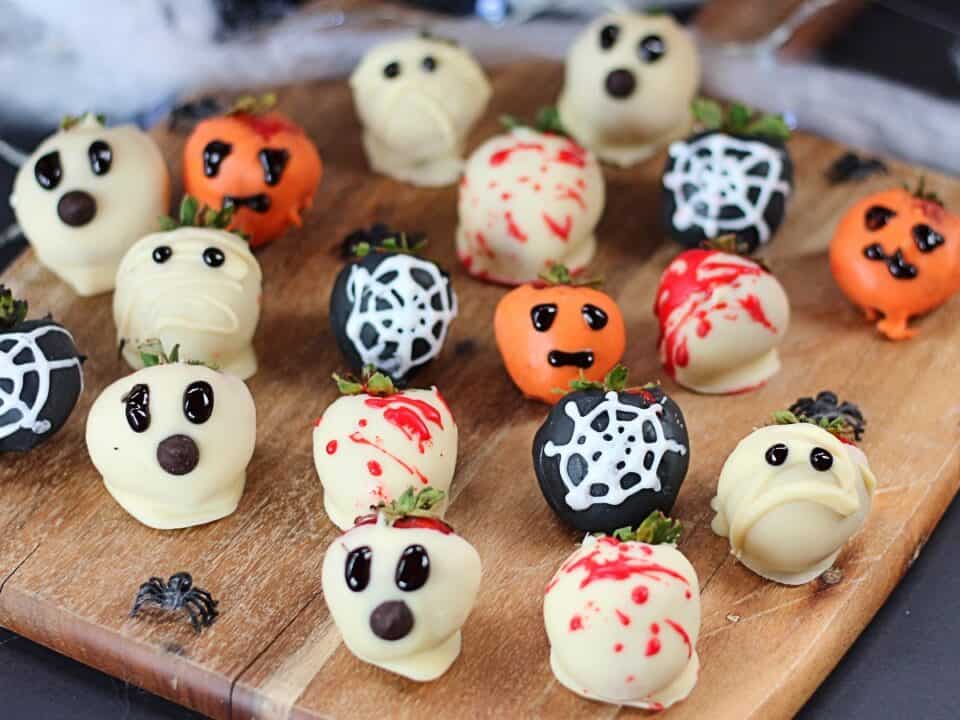
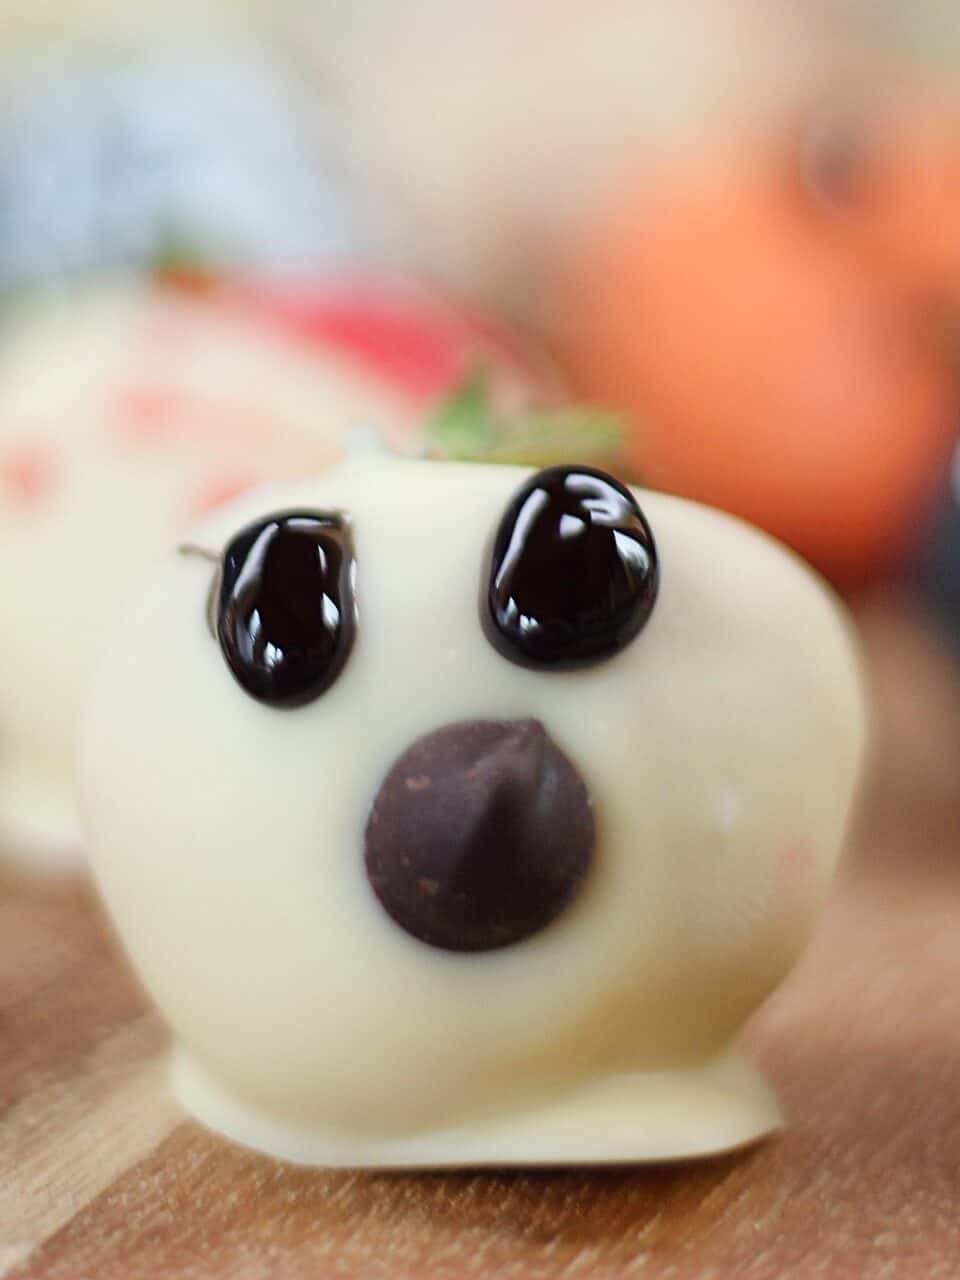
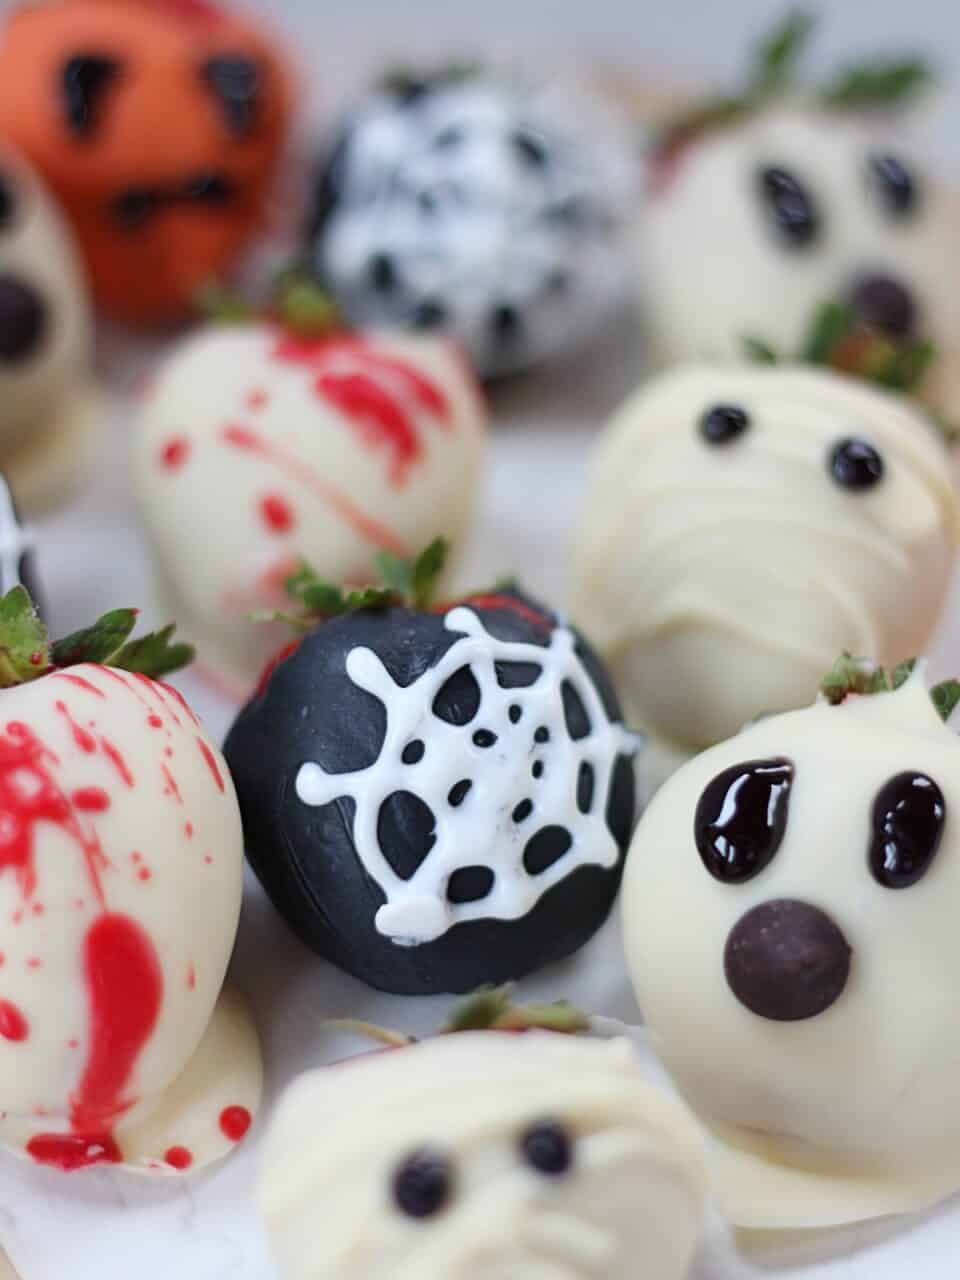
- Ghosts: Dip in white chocolate, let it drip a little to make a 'tail' for the bottom of the ghost. Use a black gel pen to draw eyes and a chocolate chip for the mouth.
- Mummies: Dip in white chocolate. Use a spoon to drizzle over 'bandages'. Use a black gel pen for eyes.
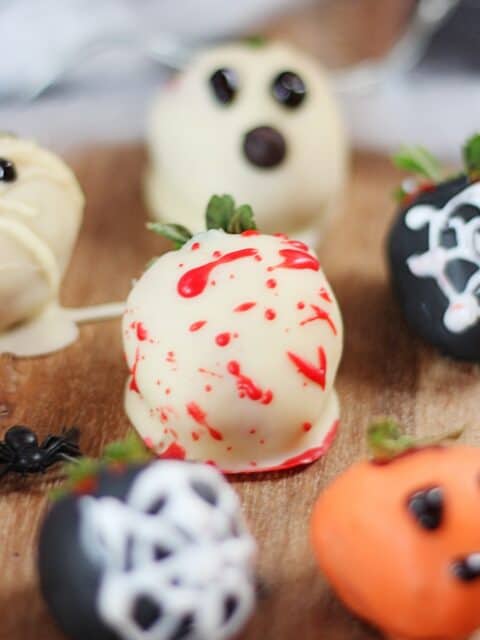
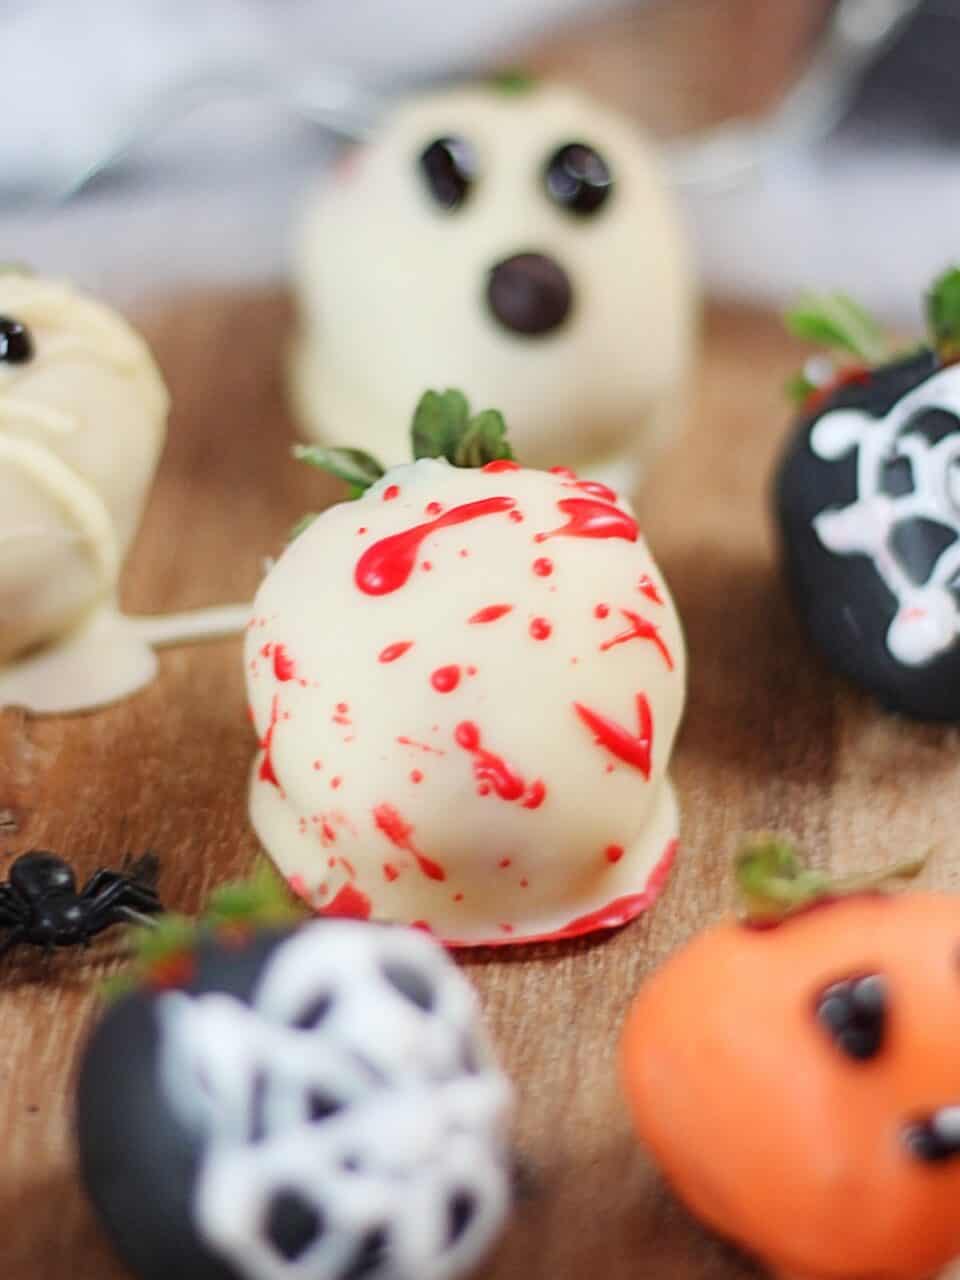
- Blood Splatters: Dip in white chocolate. Use a pastry brush to splatter dyed red white chocolate.
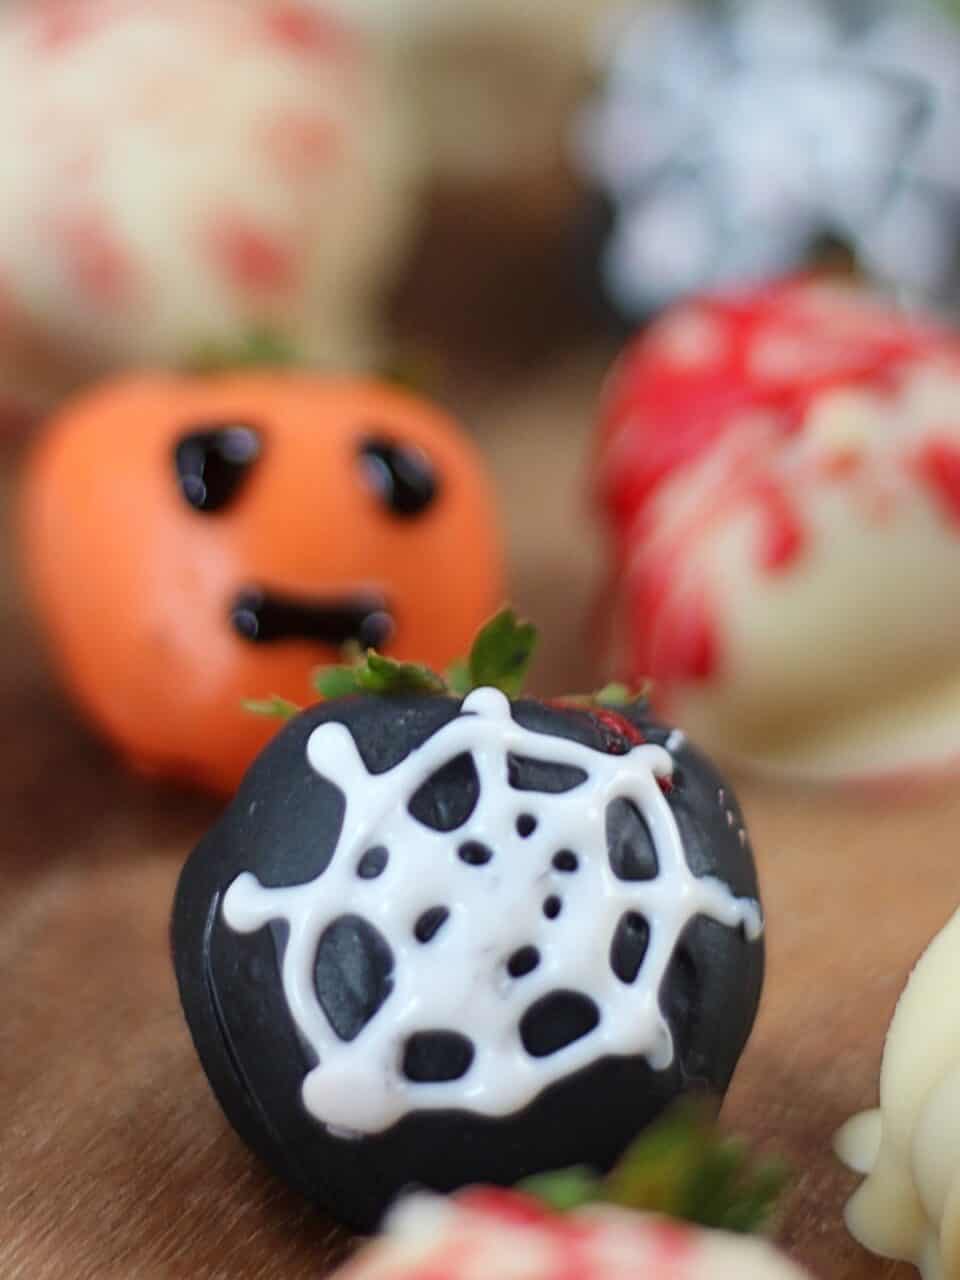
- Spiderwebs: Dip in black colored white chocolate. Use a white gel pen to draw on a spider web.
- Pumpkins: Dip in orange colored white chocolate. Use a black gel pen to draw on eyes and a mouth.
Other Easy Halloween Designs
I made pumpkins, ghosts, spiderwebs, mummies and blood splattered strawberries. Get creative and make up some of these aswell!
- Monsters: Coat the strawberries in green colored white chocolate and draw on a Frankenstein face.
- Skull: Use black dyed chocolate to cover the strawberries and add eyes, nose and mouth with a white gel pen.
- Eyeball: White chocolate covering with the iris and pupil drawn on with the gel pen. Maybe some red veins added too!
- Vampire: Coated with white chocolate and eyes and fangs with a drip of blood drawn on!
Recipe Variations
- Skip adding the food coloring and use candy melts instead. You won't get the same rich chocolatey taste but you won't have to add in food colorings.
- Use different decorations like candy eyeballs, edible glitter, Halloween sprinkles edible markers, colored sanding sugar and colored sugar pearls.
- Make them extra chocolatey by dipping the strawberries twice. Dip again once the chocolate has has dried for an extra thick layer.
Make Ahead and Storage
You can dip the strawberries ahead of time and let them set in the refrigerator, then you can have fun decorating with the kids without hot chocolate everywhere!
Halloween chocolate covered strawberries are best served the day they are made. The moisture from the strawberries can cause condensation if they sit in the fridge for too long.
They can be stored for up to 2 days in the fridge. Store in an airtight container with kitchen paper on the bottom to reduce condensation. Store in a single layer so as not to damage the decorations.
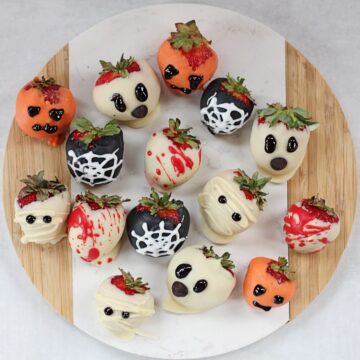
Halloween Chocolate Covered Strawberries
Equipment
Ingredients
- 20 medium strawberries (approx 1lb / 450g)
- 8 ounces white chocolate chips (226g)
- 1 teaspoon oil coconut oil or a neutral flavored oil like canola or vegetable
- Writing Gel black and white
- Oil Based Food Coloring black, orange and red
- dark chocolate chips optional for ghost mouth
Instructions
- Place the chocolate and oil into a bowl. Use a microwave to gently melt the chocolate, or use a bain-marie.8 ounces white chocolate chips, 1 teaspoon oil
- One by one, dip the strawberries into the chocolate and place on parchment paper to set.20 medium strawberries
- Color small batches of chocolate for the different decorations.Oil Based Food Coloring
- Decorate!Writing Gel, dark chocolate chips
- MUMMY: Dip in white chocolate. Once set, use a teaspoon to drizzle over strands of white chocolate. Add two black eyes with a gel pen.GHOST: Dip in white chocolate and let it drip slightly for a tail. Add eyes with a gel pen and dark chocolate chip or more gel pen for the mouth.BLOOD SPLATTER: Dip in white chocolate. Mix a small amount of white chocolate with red food coloring and stir in a little oil to make it runnier. Use a pastry brush to splatter the red chocolate over the white chocolate strawberry. PUMPKIN: Color some white chocolate orange and dip the strawberries in. Use a black gel for triangle eyes and a mouth.SPIDERS WEB: Color white chocolate black and dip the strawberries in. Use white gel to draw the spider web.
Video
Notes
- You can use colored candy melts if you prefer - not need to add oil or food coloring.
- Use oil based food coloring. Gel or liquid can cause the chocolate to seize. If this happens, stir in a little oil to loosen it back up.
- I prefer to melt the chocolate on the stovetop in a bain-marie as you have more control. If you use a microwave, heat in in short increments and stir frequently so that you don't burn it.
- Make sure that the strawberries are dry before dipping them in the chocolate. Keep the leaves on, it will make them easier to handle.
- Only add a little oil to the chocolate chips, the chocolate needs to be thinner to give an even coating, but you don't want it to drip off of the strawberries.
- Rest the strawberries on parchment paper as the chocolate sets so that they are easy to remove.
- Allow the chocolate dipped strawberries to set before decorating. You can pout them in the fridge for 10 minutes to speed this up.
- For the blood splatter strawberries - I did mine in the sink so as not to get red chocolate everywhere!
- I made 4 of each design with these amounts.

Leave a Reply