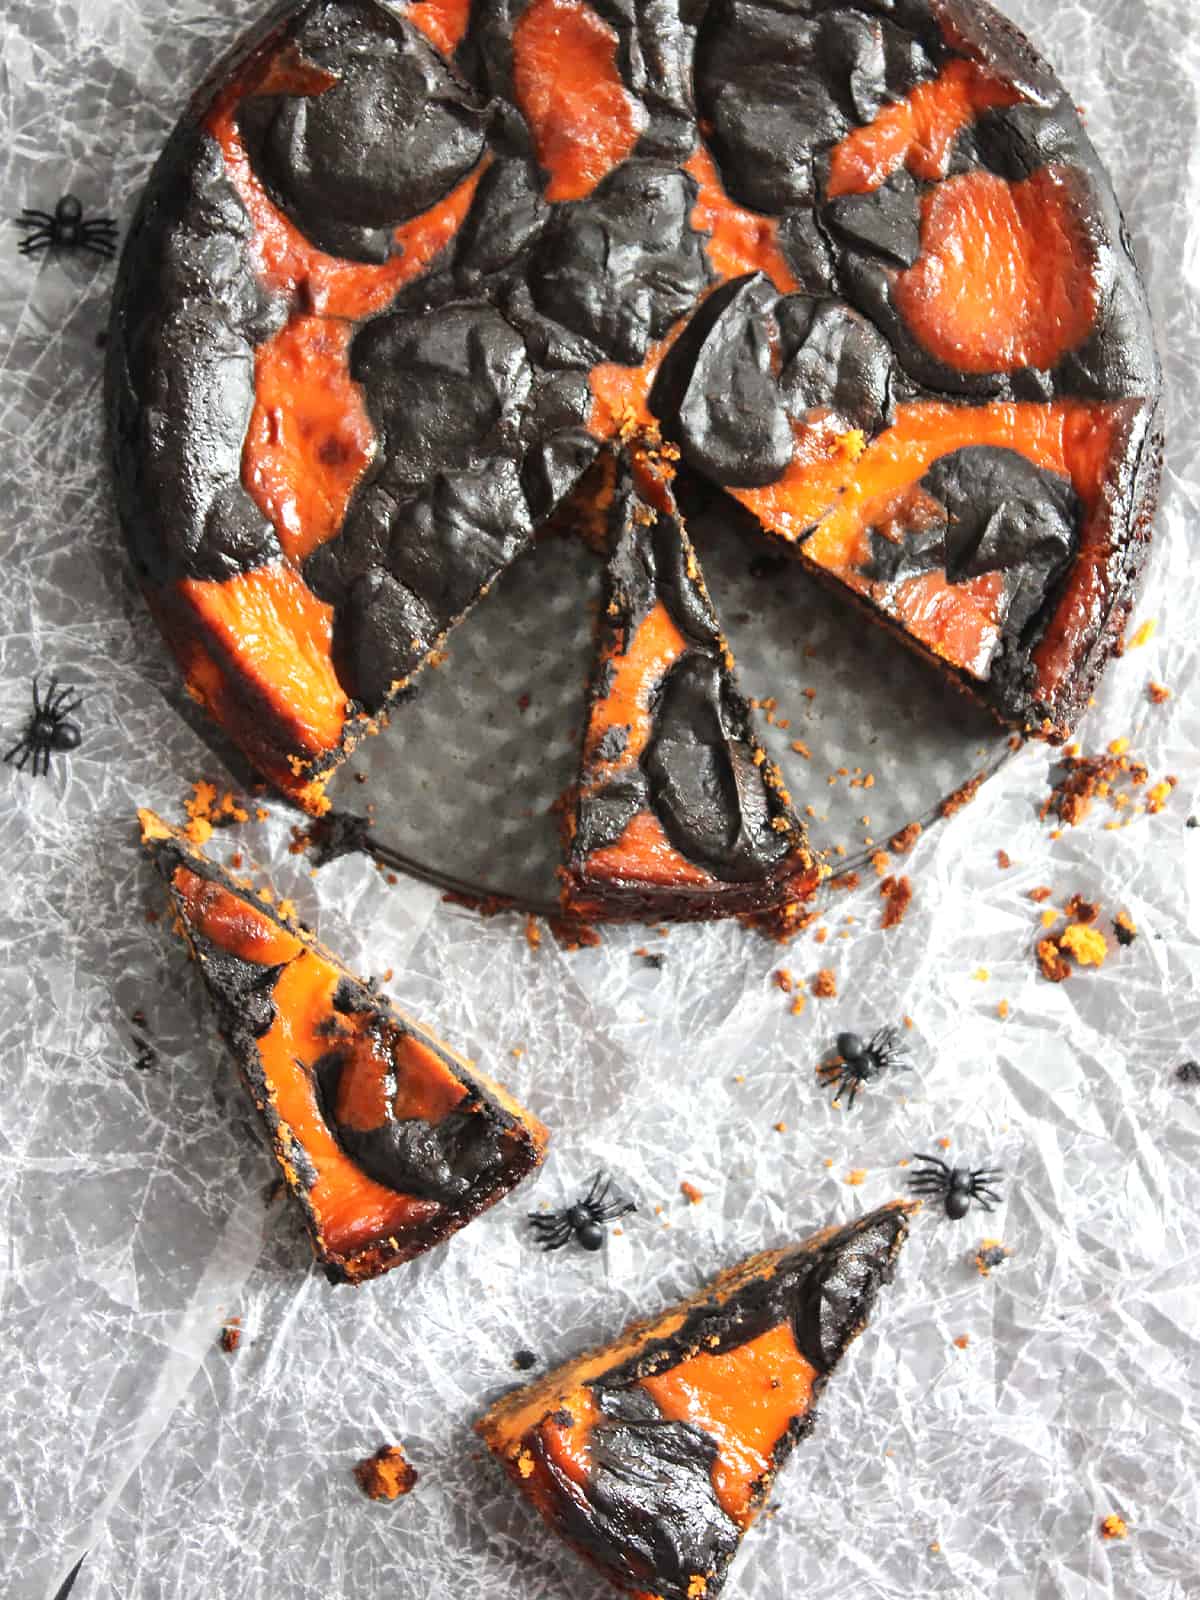
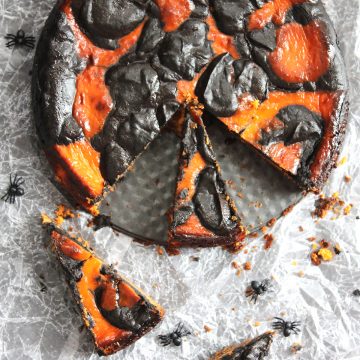
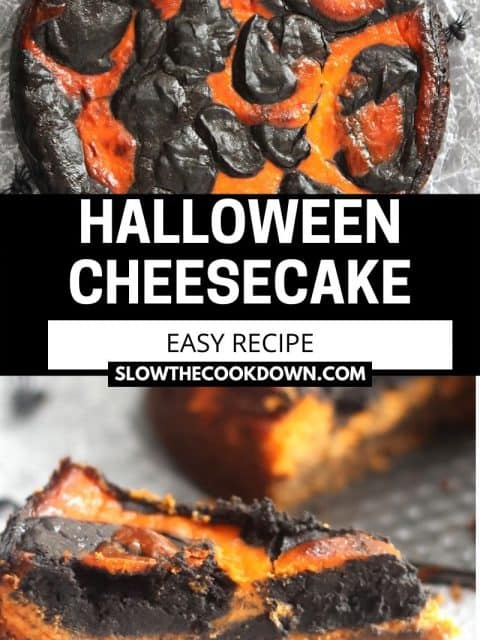
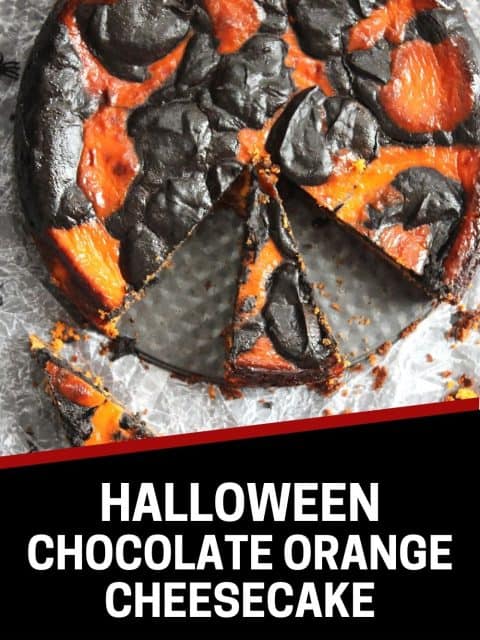
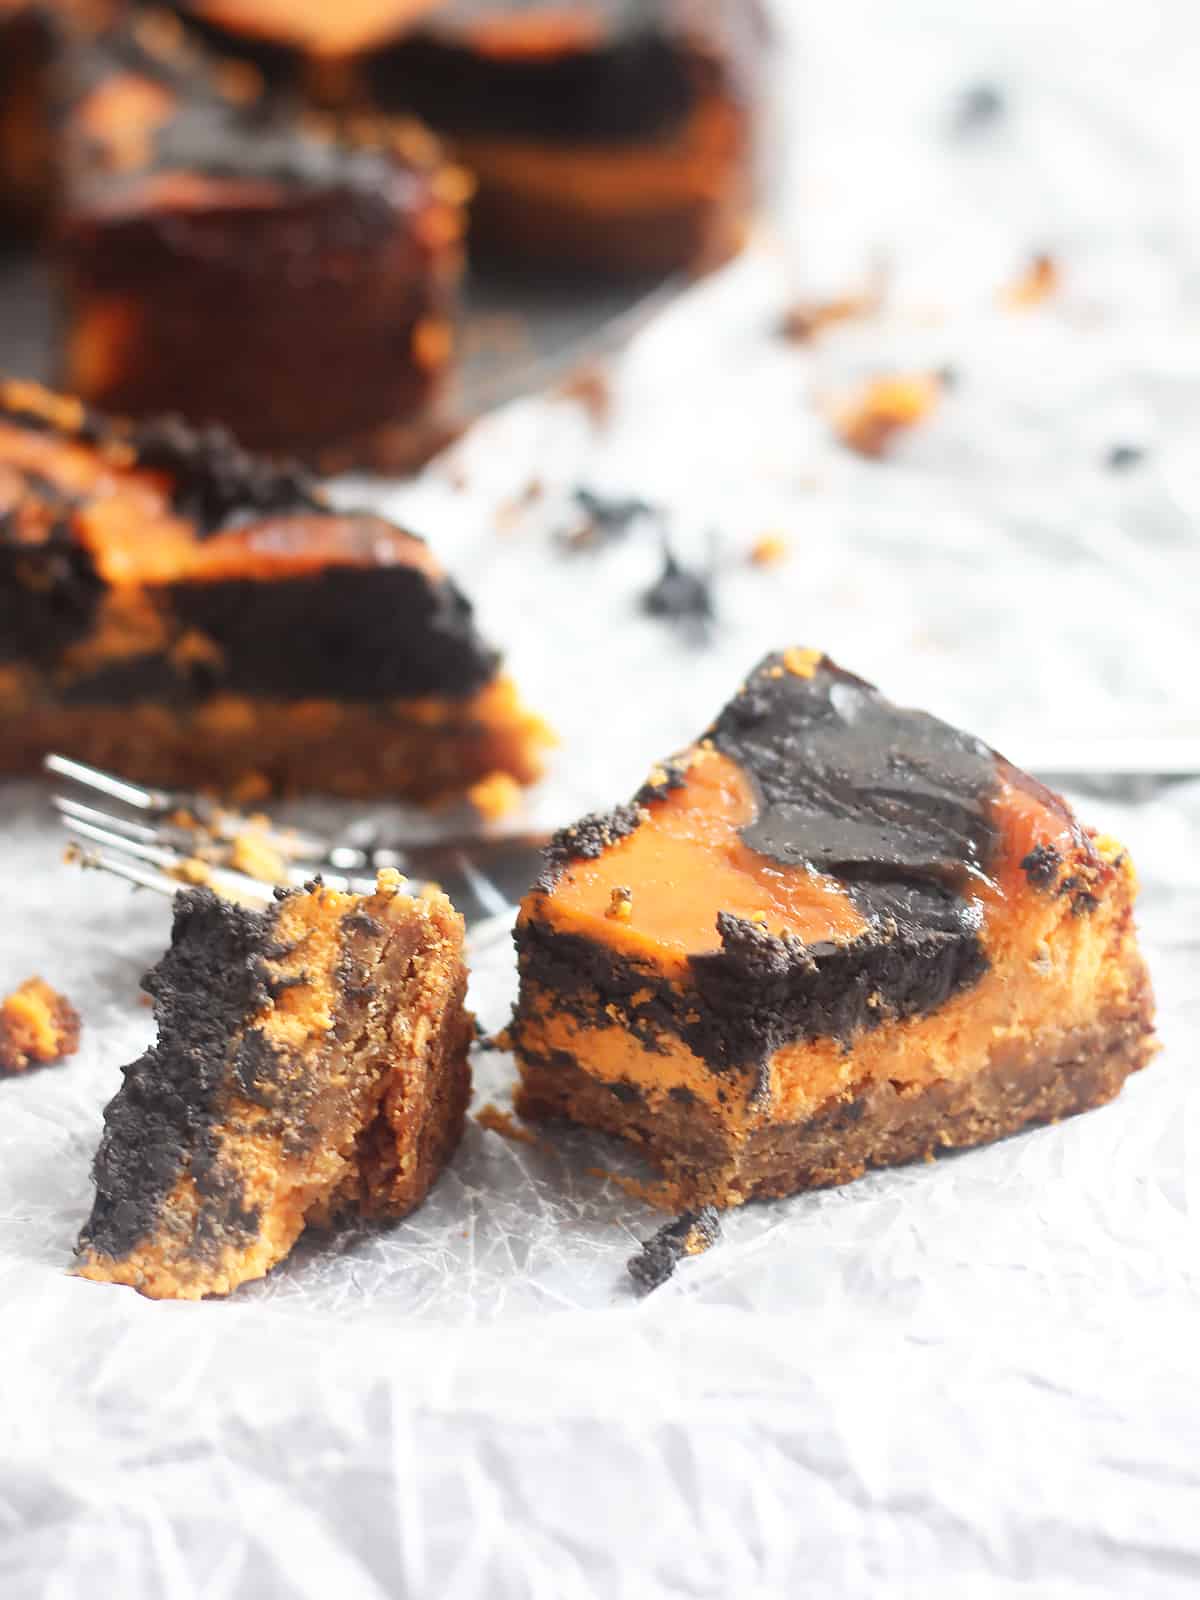
This easy to make dessert is the perfect addition to your Halloween party! This chocolate orange cheesecake recipe is perfectly sweet, creamy and tangy and it's vibrant black and orange color will make it stand out from the crowd!
This post may contain affiliate links. Read my privacy policy here.
Are you Halloween ready yet?! If you are looking for a dessert to impress this chocolate orange cheesecake is it!
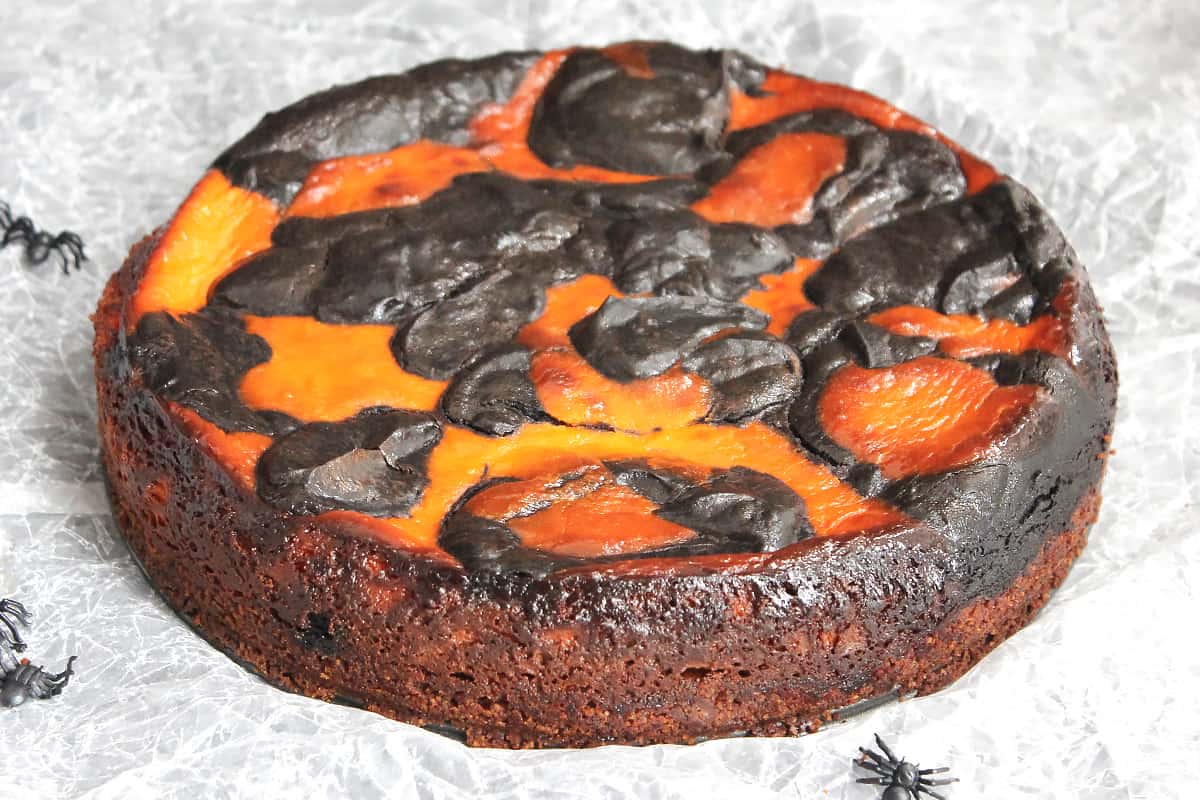
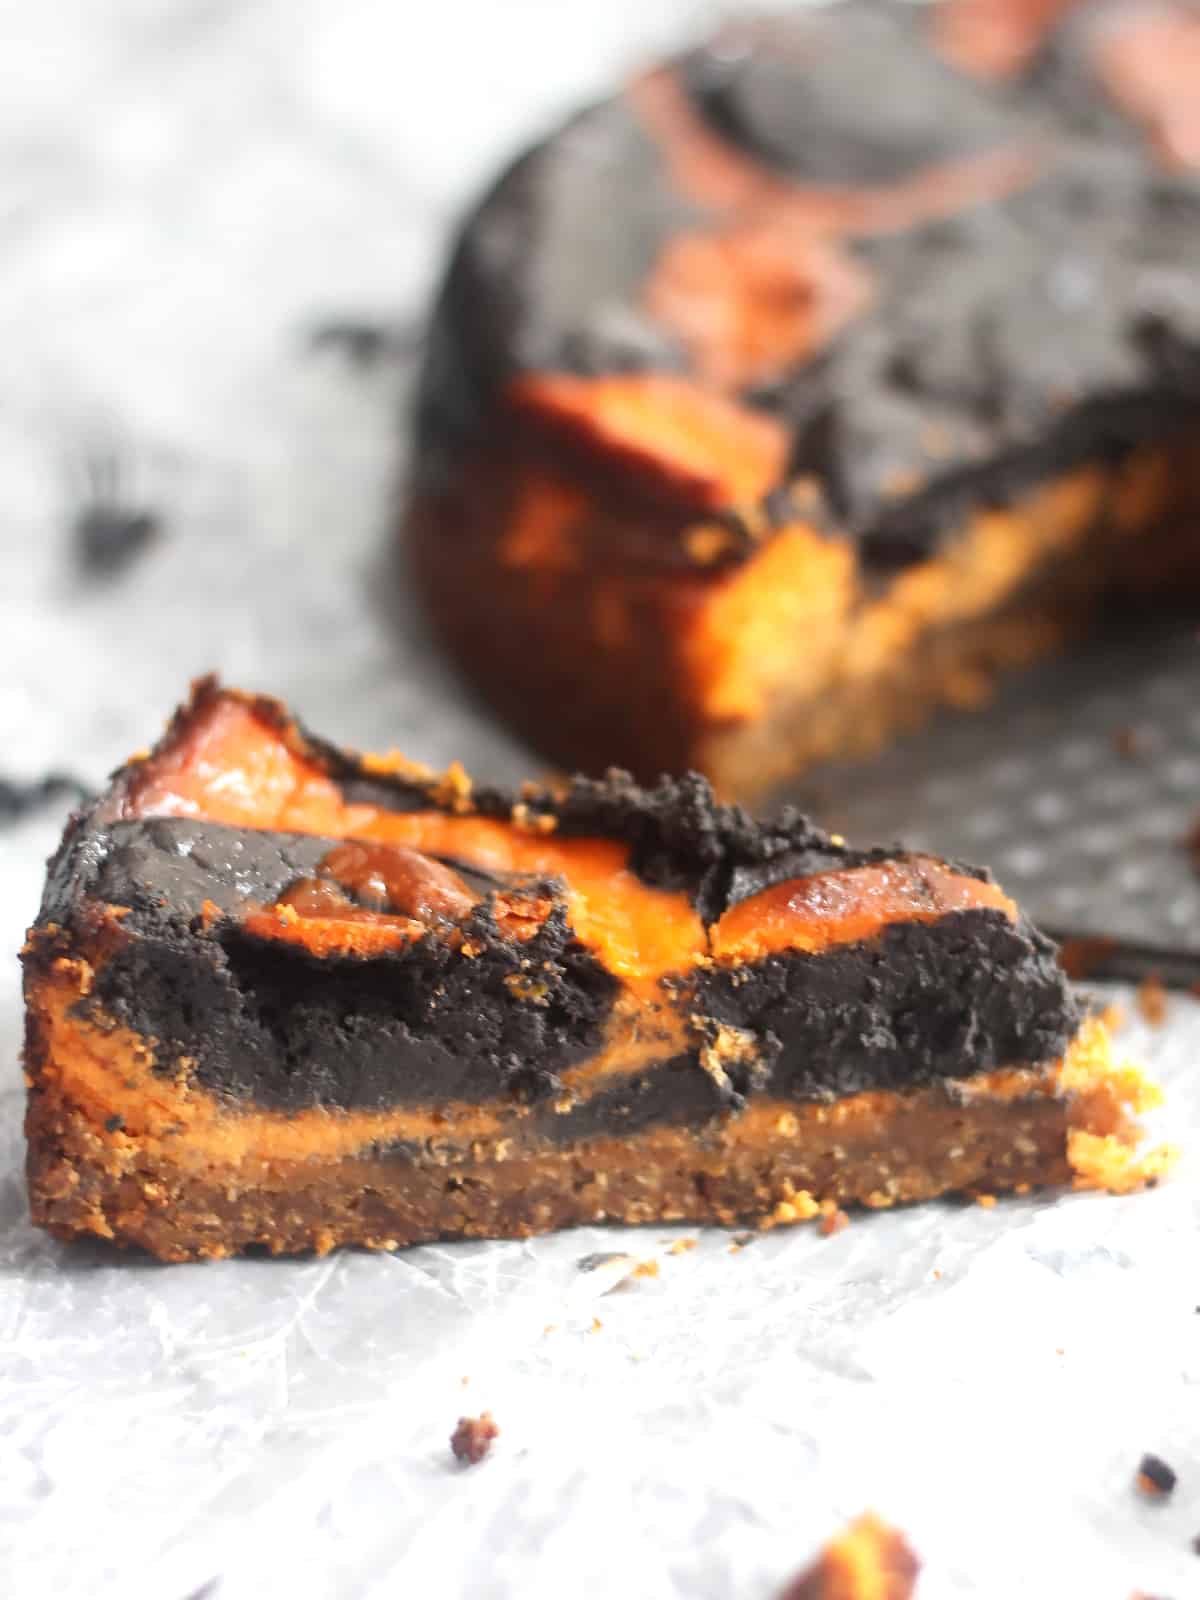
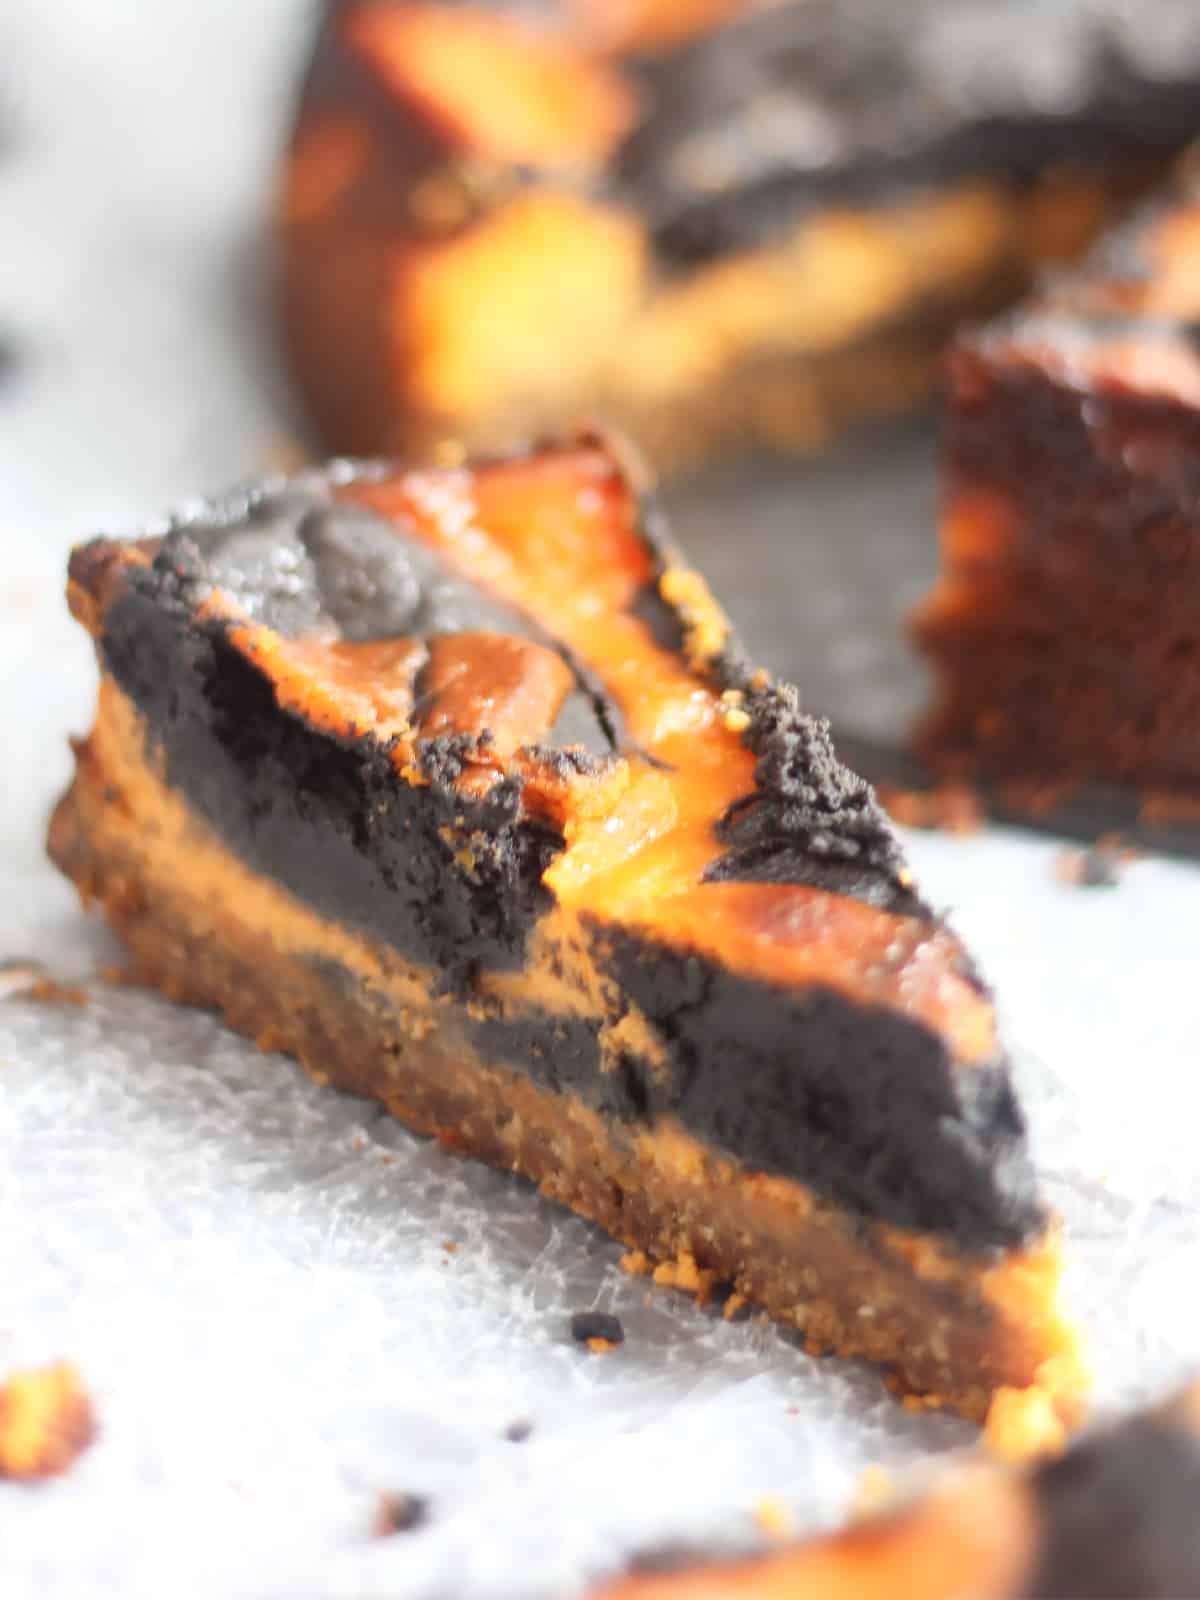
Colored black and orange, the cheesecake mix is spooned over an oat biscuit crust to form a swirled patter that's perfect for spooky season. Creamy and sweet, with tanginess from fresh orange, this baked cheesecake is the perfect centerpiece!
Be sure to try my Halloween Chocolate Bark and Green Halloween Sangria too!
Why you will love this recipe!
- Perfect for a crowd: This cheesecake will easily serve 12, so it's perfect if you are hosting a party, or take it along to one you are attending!
- Make ahead: This can easily be made a couple of days ahead of time and leftovers keep well. It's freezer friendly too.
- So fun! This easy to make cheesecake is simple to make and it's vibrant colors really make it stand out! It's an easy recipe that your kids can help you make too!
Ingredients
- Biscuits: To make the crust I used oat biscuits, but you can use others. Crush them into fine crumbs in a food processor, or place them in a bag and use a rolling pin.
- Butter: You can use salted or unsalted butter. Melt it to help the biscuit crumbs stick together and form the crust.
- Cream cheese: Soften your cream cheese before using it so you get a nice smooth cheesecake mix. It's best to use full fat.
- Sugar: Use granulated / table sugar.
- Plain yogurt: Yogurt adda s nice tanginess to the cheesecake. You can use Greek yogurt or sour cream as well.
- Eggs: Eggs help to make the creamy texture and rich flavor. Beat them before adding slowly to the cheesecake mix.
- Chocolate: Melted and stirred into the cheesecake mix for a rich flavor. I used semi-sweet, but you can use white or milk.
- Oranges: We use both juice and zest for a tangy fresh orange flavor.
- Food coloring: Black and orange for the perfect Halloween cheesecake.
How to make a chocolate orange cheesecake
Be sure to scroll down for the full recipe!
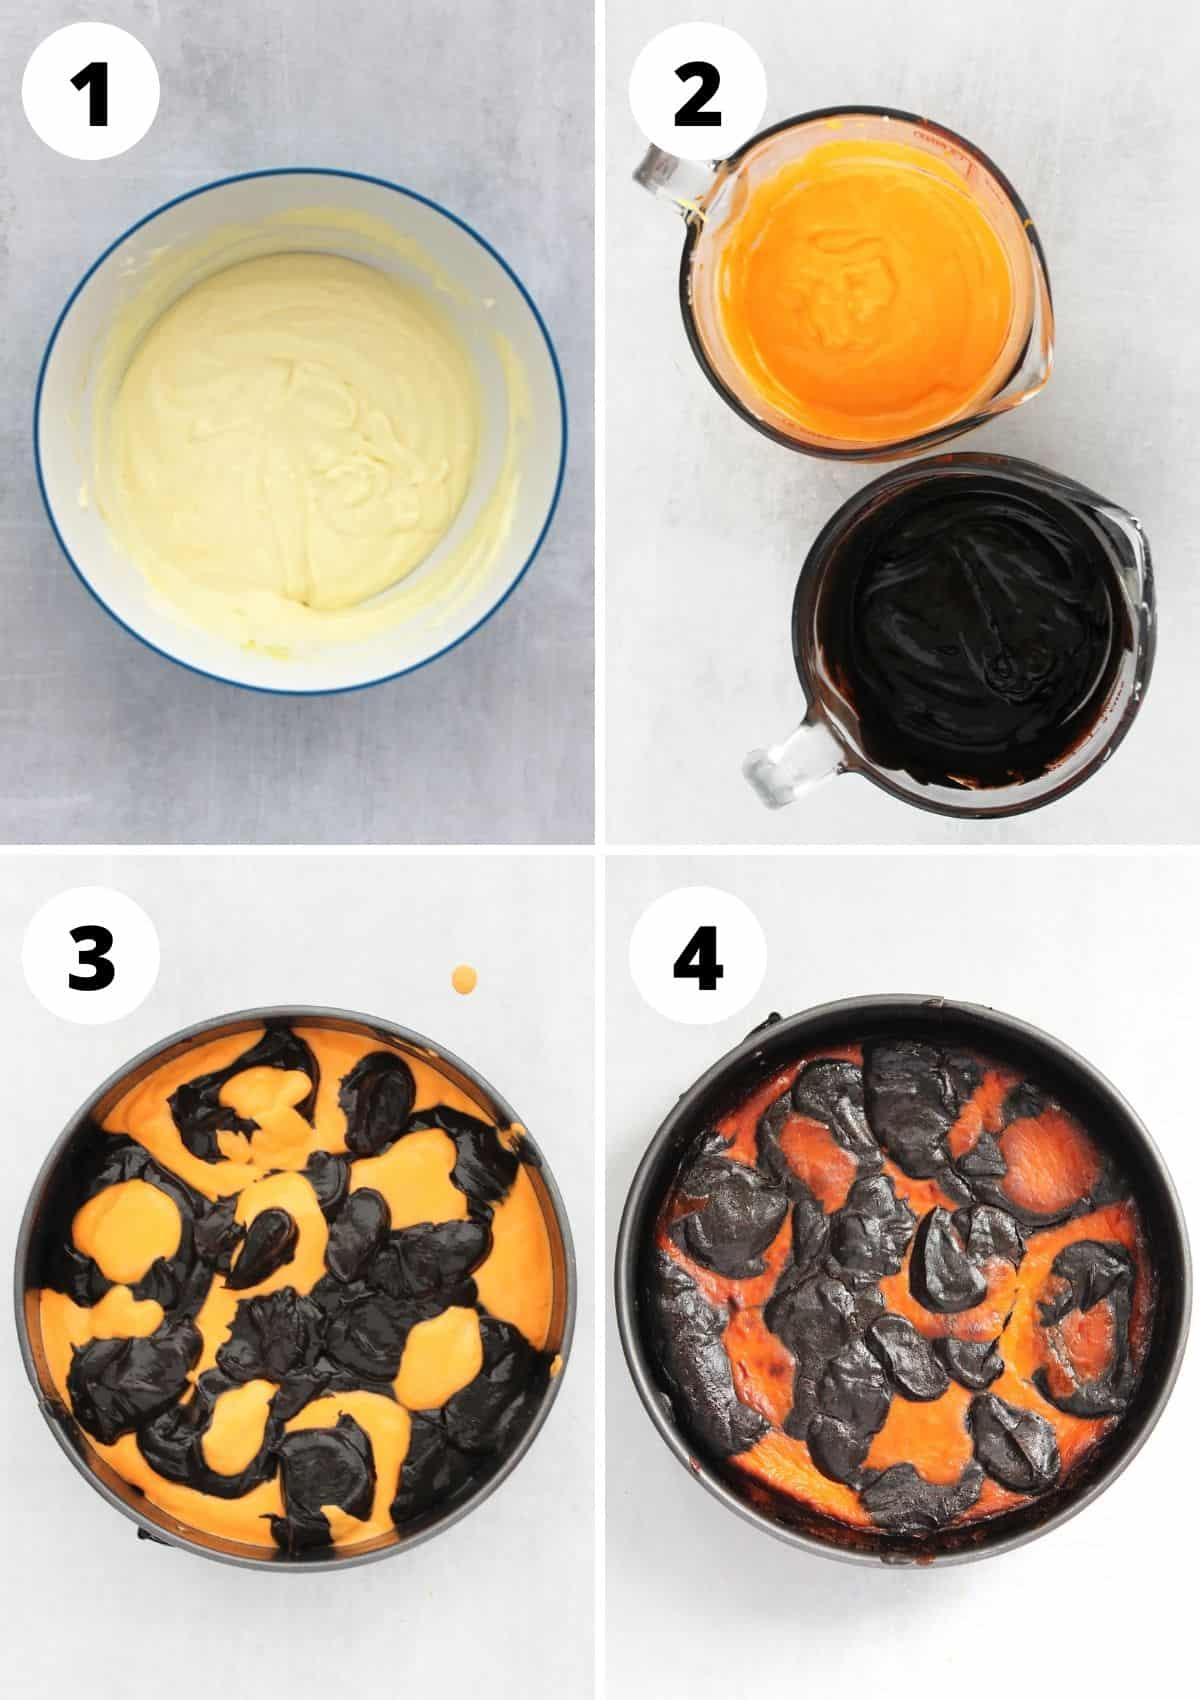
- Mix together the ingredients for the cheesecake filling til smooth (photo 1).
- Divide the mix into two, add melted chocolate and black food coloring to one half, and orange zest and juice and orange food color to the other (photo 2).
- Spoon the two mixtures over the biscuit crust to form a random pattern (photo 3).
- Bake and let cool (photo 4).
Recipe Variations
This chocolate orange cheesecake is perfect for Halloween, but it's easy mix up the colors and flavors for other occasions, and you can layer the two flavors for a more traditional looking cheesecake. You can mix up the crust as well with different biscuits, like Oreos, digestives or vanilla wafers.
Frequently Asked Questions
Cheesecakes are great as they can easily be made a couple of days ahead of time. Once it is fully cooled, wrap it in plastic wrap and keep it refrigerated. I like to take it out of the fridge an hour or so before serving, as I think they taste better at room temperature. Leftovers will keep well covered in the fridge for up to 5 days.
When a cheesecake cools too quickly, it can cause cracks on the surface when the filling contracts. Once the cheesecake has baked, turn the oven off and let it sit it in the warm oven, with the door open, so it cools more slowly. Then, let it sit at room temperature for an hour before chilling it in the fridge. Don't serve the chocolate orange cheesecake until it has chilled, if it is still warm, it won't hold it's shape.
It's best to mix the cheesecake filling by hand. If you use an electric mixer or stand mixer, it can cause too much air to be whipped into the filling which can expand quickly when baked causing cracks to appear in the surface.
Make sure that your ingredients are softened / at room temperature. This will help them combine easily, so you don't have to overwork the mix to make a smooth batter.
Recipe Notes and Tips
- Soften your cream cheese before using it, and your other ingredinets should be at room temperature. It will help create a nice smooth texture and you won't risk over mixing it.
- Let the biscuit crust cool completely before adding the cheesecake mix.
- It's best to mix the cheesecake by hand rather than using a mixer. Cheesecakes can crack if they are over mixed, you want the ingredients to just be combined.
- Once the cheesecake has baked, turn the oven off, open the door and keep the cheesecake on the rack. This will mean it cools slowly and is less likely to sink and crack.
- Let the cheesecake cool completely in the fridge before removing the ring from the springform pan and slicing.
- To make this dessert gluten-free, use gluten-free biscuits.
- You can cut down on fat content and calories if you use a low fat cheese, but it won't be as creamy and rich.
More Baked Cheesecake Recipes
- Brownie Bottom Cheesecake
- Cranberry and Orange Cheesecake
- Lemon & Blueberry Cheesecake
- Savoury Cheesecake
I love hearing from you!! If you have tried this Halloween chocolate orange cheesecake, be sure to scroll down, give it a star rating and let me know what you thought!
For more tasty treats, food inspiration and fun, be sure to follow me on Facebook, Instagram, Twitter and Pinterest – come say hi!
Be sure to keep in touch and sign up to Slow The Cook Down to grab your free e-book ‘Stress Free Recipes Made For Sharing’
Halloween Chocolate Orange Cheesecake
Ingredients
- 10 ounces oat biscuits (300g)
- 1 stick butter (113g)
- 21 ounces cream cheese softened (600g)
- ¾ cup granulated sugar (150g)
- ½ cup plain yogurt room temperature (120ml)
- 3 eggs room temperature (beaten)
- 8 ounces semi-sweet chocolate (225g)
- 2-3 drops black food coloring
- zest of two oranges
- juice of one orange
- 2-3 drops orange food coloring
Instructions
- Preheat the oven to 325ºf / 180ºc.
- Grease a 9 inch springform pan with cooking spray or oil.
- Make the oat biscuits into crumbs, either place in a bag and break with a rolling pin or use a food processor.
- Melt the butter on a low heat in a pot on the stovetop.
- Mix together the melted butter and crumbled oat biscuits til well coated. Place the mix into the greased springform pan, pressing flat with your hands to from the crust.
- Place in the oven for 10 minutes, then leave to one side.
- In a large bowl, mix the cheese and sugar together.
- Stir in the yogurt.
- Add the beaten eggs in increments, stirring til well combined so you have an even mixture.
- Divide the cheesecake mix into two bowls or jugs.
- Melt the chocolate on a low heat on the stovetop. Let cool slightly and add to one half of the cheesecake mix and stir to combine. Stir in the black food coloring.
- Add the grated orange zest and orange juice to the other half of the cheesecake mix and stir to combine. Stir in the orange food coloring.
- Use a large spoon to dollop on the orange and black mixtures in a random pattern. Don't worry if the top isn't smooth, it will even out in the oven and it's quite nice to have a uneven texture.
- Bake in the oven for 40-50 mins.
- Once cooked, the cheesecake should be set around the edges, but still have a very slight jiggle in the middle. Turn the oven off and open the door to let the cheesecake cool slowly so that it doesn't crack. After 30 minutes, place the cheesecake at room temperature for one hour too cool.
- Chill fully in the fridge til ready to serve.
Notes
- Soften your cream cheese before using it, and your other ingredinets should be at room temperature. It will help create a nice smooth texture and you won't risk over mixing it.
- Let the biscuit crust cool completely before adding the cheesecake mix.
- It's best to mix the cheesecake by hand rather than using a mixer. Cheesecakes can crack if they are over mixed, you want the ingredients to just be combined.
- Once the cheesecake has baked, turn the oven off, open the door and keep the cheesecake on the rack. This will mean it cools slowly and is less likely to sink and crack.
- Let the cheesecake cool completely in the fridge before removing the ring from the springform pan and slicing.
- To make this dessert gluten-free, use gluten-free biscuits.
- You can cut down on fat content and calories if you use a low fat cheese, but it won't be as creamy and rich.



Leave a Reply