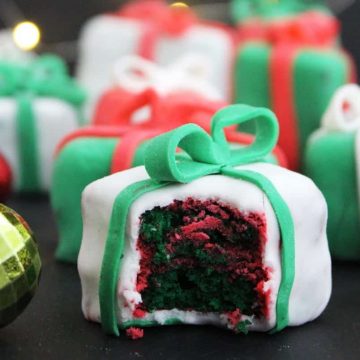
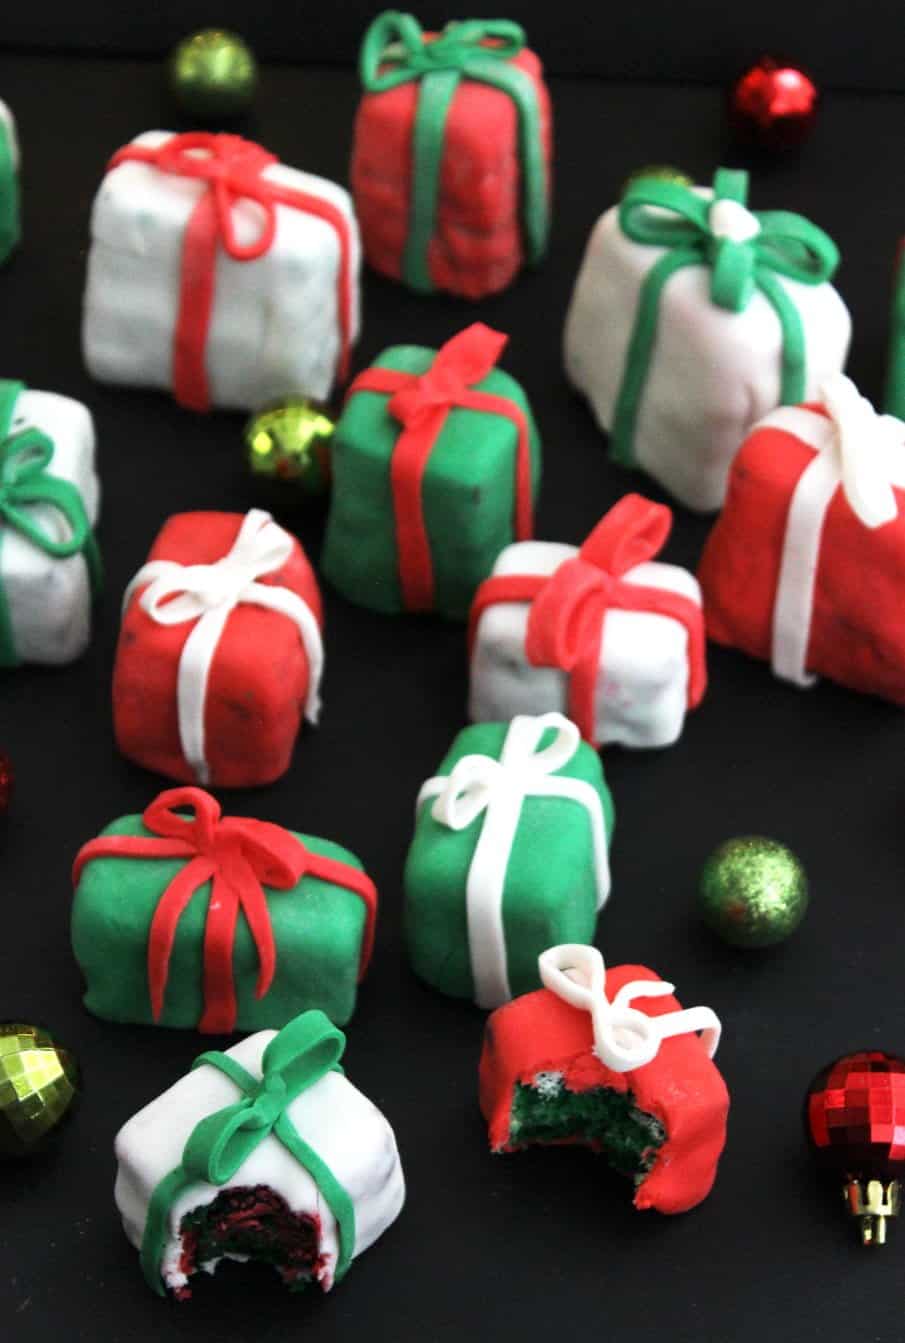
I can not believe it's nearly Christmas!! It's been a crazy year, culminating in our (could have been more organised!) move from London to Toronto. Now we are all settled, I decided to get myself into the festive spirit by making these cute mini Christmas present cakes.
Mini Christmas Present Cakes are perfect for novice bakers...like me!
I'm really not a great baker, generally i just don't have the patience and discipline for it. I've been putting off making these Christmas present cakes for at least 5 weeks. I knew I had to really be in the mood! I'm always mesmerised by those amazing cake decorating videos on Facebook and always tempted to give it a go. But, I know that 15 minutes in I'll get bored and frustrated and whatever I'm making will turn into a huge fat mess! So, when developing these Christmas present cakes I wanted to make them and simple and straight forward as possible!
These Christmas present cakes were not the recipe to get all inventive with, so for safety I opted for a basic sponge cake with buttercream and fondant icing. Sometimes simple is better and I wanted to spend my energy making them as pretty as I could!
Your Mini Christmas present cakes will be Instagram worthy!
One of my favourite things to look at online are the Expectation vs Reality posts, you know the ones. You see something amazing on Pinterest or Instagram and attempt to make it, but it goes horribly wrong! You realise quickly that those beautiful cakes were made by someone with years of baking experience vs your 20 minutes of baking experience and all you've made is a hot mess! These cakes are super simple to make pretty, I promise no disasters here!
You don't need fancy equipment to make Christmas present cakes!
Because of our recent move, I currently have a very bare cupboards when it comes to kitchen equipment, and basically non existent when it comes to tools for baking! If you have a little cake turntable and a palette knife, good for you! Your Christmas present cakes will have corners so sharp you could cut yourself on them! I however, do not have those things, and you know what, I love that they are obviously homemade!
The food colouring I used for decorating these cakes resulted in some really bright and vibrant festive colours and the fondant was super easy to handle. Here are a couple of affiliate links below for the ingredients that I used as I was super impressed with how they turned out. If you buy through these links I will get a small percentage of the sale at no extra cost to you - think of it as an early Christmas present for me!
I really hope you do give these cakes a go! Set aside a couple of hours, take your time and I'm sure they will turn out wonderfully!
If you are looking for more festive recipes, check out my Baked Cranberry and Orange Cheesecake, Cranberry Sauce with port and Orange or how about a mince pie tear and share?!

Christmas Present Cakes
Ingredients
For the sponge
- 8 oz softened butter 250g
- 8 oz caster sugar 250g
- 2 medium eggs
- 8 oz self raising flour 250g
- red and green food colouring
For the buttercream
- 4 cups powdered (icing) sugar
- ⅔ cup softened butter
- 2 tbsp vanilla essence
- 2 to 3 tbsp milk
- red and green food colouring
For the fondant decoration
- 24 oz fondant icing 680g
- red and green food colouring
Instructions
For the sponges
- Pre heat the oven to 350f / 180c. Line three tins with baking parchment.
- In a bowl, cream together using a hand whisk, or an electric whisk on a medium speed. Mix in the eggs well. Sift the flour in to the mixture and fold in using a wooden spoon.
- Separate the mixture in to three bowls. Add a few drops of green food colouring to one and mix in until you have the desired colour. Mix red into another bowl.
- Pour the sponge mixtures in to separate tins and put in the oven. Cook for around 20-25 minutes. To check they are cooked through, pop a cocktail stick into each sponge, if it comes out clean it is done.
- Leave to cool completely before decorating. I left mine overnight.
To make the buttercream
- In a bowl beat (or use an electric whisk) together the powdered sugar and the butter then add the vanilla essence and a tablespoon of milk. Whisk the mixture until light and fluffy, but stiff. Add more milk if the mixture is too stiff or more powdered sugar if it is too runny.
- Separate the buttercream in to three bowls, then, like with the sponge, add a few drops of red colouring to one bowl, and red to the other and stir in. Repeat until you have the required colours.
To construct the cakes
- Trim the edges of each sponge to create flat edges, then cut into squares. If you have a deeper sponge (I did one in a loaf tin) then cut the squares across the middle so you have a top and bottom.
- Place a spoonful of buttercream on one square, and place another one on top. Use contrasting colour buttercream - red sponge=white or green icing. Then, using a knife spread a small amount of buttercream on each side and the top. Repeat through all the sponges mixing and matching the colours. Place in the fridge to cool for 20-30 minutes
To prepare the fondant
- Cut the fondant into three equal portions and flatten slightly with the heel of your hand. Put a cocktail stick into the green food colouring and wipe on one piece of fondant. Knead until the colour has mixed in and add more colouring if needed. Repeat with the red.
To decorate
- Roll out the red fondant using some powdered sugar for dusting. Cut a square out and lay it over a mini cake (remember to mix and match the colours, so red sponge = green buttercream and white icing). Using your hands, shape the fondant around the cake (I didn't wrap the fondant on the bottom of the cakes). Repeat until all cakes are covered
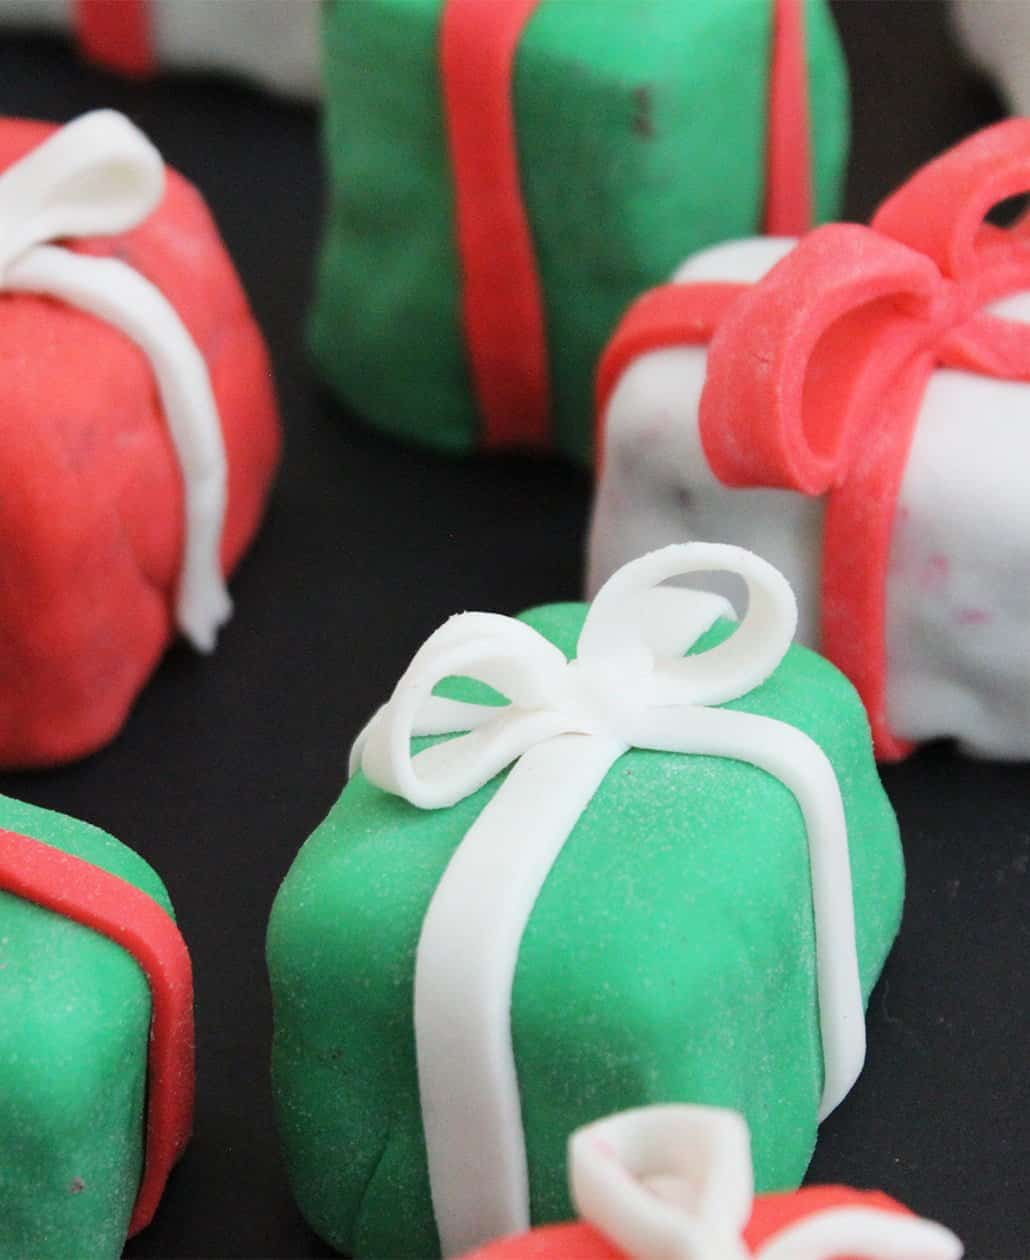
- To make the bows, cut long thin strips of fondant. Take two strips and cross over the top of a cake and press on to secure, or you can use a gum. Take another strip and take each end and loop towards the middle of the strip and press together. Fit on the middle of the fondant cross. Get creative with double bows and strips of ribbon!
Video
Notes
Nutrition


Michelle says
These are so adorable, and I love that they're festive coloured inside and out!
I love to bake, but I'm not so great at the decorating part when it comes to cake - I think I could pull these babies off though!
Slow The Cook Down says
Thanks Michelle! I made the decorating as easy as possible for my clumsy fingers!!
Marlee says
These are such adorable treats! You did a great job on these!
Slow The Cook Down says
Ah thanks Marlee!
Carolyn says
These are so adorable!
Jane Saunders says
I saw the video for these a few days ago and fell instantly in love with them. We've just had a massive (for the UK) level of snow and the kids got a day off school. I want another snow day now so we can attempt these together... and probably end up in a hot mess. I can bake but I really am not great at decorating, even with all my equipment.
Slow The Cook Down says
I'm sure you would do an awesome job decorating these Jane! I'm so impatient and clumsy, so if I can do it I'm sure you can!
Laura says
These are such cute treats!
Healthy World Cuisine says
These little gifts are so adorable! You are so creative.
Slow The Cook Down says
Ah thank you! 🙂